Distinguish yourself with exclusive, unique grip tape. It’s simple to design and apply by following this guide. Watch the video and read the blog post to bid farewell to plain black grip tape and welcome your personalized limited edition.
It’s well-known that you’ll need new grip tape periodically, so why not seize the opportunity to create your own custom design? It’s a unique and straightforward way to express yourself, with endless combinations ensuring your design will be one-of-a-kind.
All you need is a knife, a ruler, an Allen key/screwdriver, and some grip tape.
Step 1: Your Imagination is the Only Limit

There are only two limitations when customizing your scooter or skateboard grip tape: your creativity and your fine motor skills.
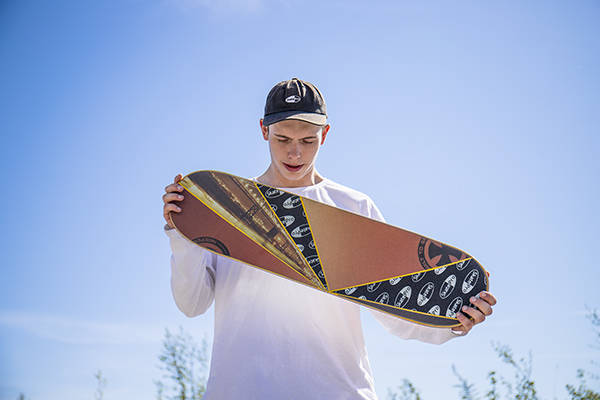
Begin by selecting the grip tape sheets you want to use. It might help to sketch your desired pattern to visualize the final result. You can find both scooter and skateboard grip tape here for inspiration.
If you’re designing custom grip tape for your scooter deck, you can find specialized scooter grip tape here.
Step 2: Inch by Inch
Now that you have an idea of your custom grip design, it’s almost time to cut the pieces. But first, consider this crucial detail: if designing for a scooter deck, remember to make cutouts for the headtube and brake.
The same applies to skateboard grip tape - consider the length and width of the skateboard deck when planning your design.
Grab a knife and cut out the shapes you’ve planned for your pattern.
Step 3: Easy Peasy
Applying grip tape is simple if you follow a few steps. First, arrange your design by laying the pieces on top of the deck before removing the backing paper. Once you’re satisfied with the layout, peel off the paper from the sticky side and apply each piece one at a time. Start from the center and work your way out to avoid air bubbles.
After completing your design, create guidelines for cutting by scratching the deck's edges with a tool. Trim the excess grip tape along these lines.
You’re almost ready to ride. The final step is to create holes for the bolts. Use an Allen key or screwdriver to poke the necessary holes for attaching trucks (for a skateboard) or the brake (for a scooter).
Get creative and remember, it’s good to show off your unique style occasionally.